Easy No-Bake Watermelon Rice Krispies for Unforgettable Summer Fun
As the days stretch longer and the sun shines brighter, our thoughts inevitably turn to refreshing treats and effortless entertaining. While ice cream and popsicles certainly have their place, sometimes you crave something a little different, something that combines nostalgia with a vibrant, playful twist. Enter the delightful world of
watermelon rice krispies treats! These no-bake wonders are not just visually stunning; they're incredibly simple to whip up, making them the ultimate summer dessert for everything from casual family dinners to grand backyard barbecues and festive get-togethers. Imagine the smiles when these adorable, fruity-themed squares hit the dessert table – they’re a guaranteed crowd-pleaser for both kids and adults alike.
The beauty of these treats lies in their simplicity and the creative touch they add to any spread. Forget turning on the oven in scorching heat; these come together with minimal fuss and maximum fun, embodying the spirit of easy summer living. They offer that classic chewy, sweet satisfaction of traditional Rice Krispies treats, but with an exciting, fresh aesthetic that perfectly captures the essence of a juicy summer watermelon. If you're looking for a dessert that’s as much a conversation starter as it is a delicious bite, you’ve found your perfect match.
Why Watermelon Rice Krispies Treats Are a Summer Must-Have
There’s a special magic that happens when a dessert is both utterly delicious and undeniably cute.
Watermelon rice krispies treats nail this combination perfectly, making them a standout choice for any summer occasion. They tap into that universal love for the classic Rice Krispies treat – a staple of childhood that never really gets old – and infuse it with seasonal charm.
Here’s why these treats deserve a top spot on your summer menu:
*
Effortless & No-Bake: The biggest draw during the hotter months is avoiding the oven. This recipe is entirely no-bake, meaning less time heating up your kitchen and more time enjoying the sunshine. They’re quick to assemble, requiring minimal kitchen skills, which is perfect for busy hosts or even for getting the kids involved in a fun culinary project.
*
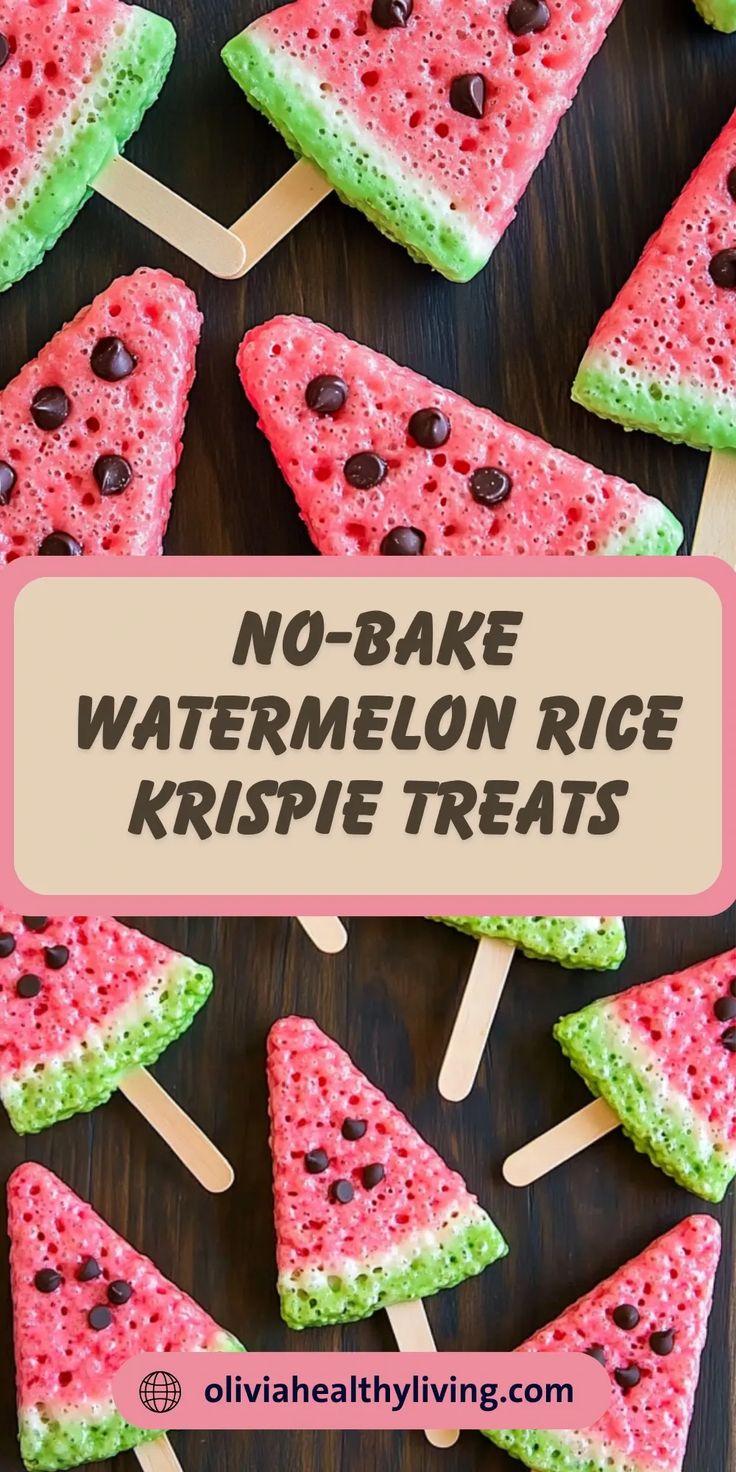
Visually Irresistible: Let's be honest, we eat with our eyes first! The vibrant green rind, the rosy pink-red flesh, and the tiny chocolate chip "seeds" create an instantly recognizable and incredibly appealing watermelon aesthetic. They stand out on any dessert platter and bring a pop of joyful color.
*
Kid and Adult Approved: While the playful appearance definitely appeals to younger guests, the chewy, sweet, marshmallowy goodness is universally loved. Many adults find themselves gravitating towards these charming treats, reliving a bit of their own childhood nostalgia.
*
Perfect for Parties and Picnics: Their sturdy, no-mess nature makes them ideal for packing up for picnics, potlucks, pool parties, or
summer BBQs. They hold their shape well, travel easily, and don't require refrigeration, though a cool environment is always best for marshmallow treats.
*
Customizable Fun: As you'll see, there are plenty of ways to add your personal touch, from adjusting the vibrancy of the colors to incorporating different flavor extracts or presentation styles.
These aren't just snacks; they're little pieces of summer joy, designed to make your gatherings brighter and your dessert table more exciting.
Crafting Your Adorable Watermelon Rice Krispies Treats: A Step-by-Step Guide
Making these adorable treats is surprisingly straightforward, even for novice bakers. The key is in the careful layering and coloring that brings the watermelon look to life. Let’s gather our ingredients and get started!
Ingredients You'll Need:
* 1 package (10 ounces) miniature marshmallows (fresh ones melt best!)
* 3 tablespoons canola oil (or butter for a richer flavor)
* 1 teaspoon watermelon extract, optional (for an authentic taste)
* 6 cups Rice Krispies cereal
* ¼ teaspoon green gel paste food coloring
* ¼ teaspoon pink gel paste food coloring
* ⅛ teaspoon red gel paste food coloring
* ⅓ cup miniature semisweet chocolate chips
Note on Food Coloring: While regular liquid food coloring will work, gel paste food coloring is highly recommended for achieving those truly vibrant, rich hues that make these treats pop. If you're aiming for that professional, eye-catching look, gel is the way to go.
Step-by-Step Instructions:
1.
Prepare Your Marshmallow Base: In a large, microwave-safe bowl or a spacious saucepan over low heat, combine the miniature marshmallows with the canola oil (or butter). If you're using watermelon extract, stir it in now. Heat gently, stirring constantly, until the mixture is completely smooth and melted. Be careful not to overheat, as this can make your treats hard.
2.
Divide and Conquer: Once your marshmallow mixture is smooth, carefully remove half of it into a separate bowl or another saucepan (keep this second batch warm over very low heat if using a stove).
3.
Color the "Rind": To the first half of the marshmallow mixture, stir in the green gel paste food coloring until evenly distributed. This will be your watermelon rind! Immediately add 3 cups of Rice Krispies cereal and fold gently until the cereal is fully coated.
4.
Color the "Flesh": To the remaining marshmallow mixture (the second half you set aside), add the pink and red gel paste food colorings. Stir until you achieve a vibrant, watermelon-pink shade. The combination of pink and a touch of red gives it a more natural, deep watermelon hue. Once colored, gently fold in the remaining 3 cups of Rice Krispies cereal until thoroughly coated.
5.
Assemble Your Watermelon: Lightly grease a 9-inch round cake pan with a little extra canola oil or cooking spray. Using waxed paper or a lightly greased spatula, press half of the green Rice Krispies mixture around the inside edge of the pan, forming a border. This will create your watermelon rind.
6.
Fill the Center: Now, carefully pack half of the pink Rice Krispies mixture into the center of the pan, pressing it firmly against the green border and filling the middle.
7.
Add the "Seeds": Gently press half of the miniature semisweet chocolate chips into the surface of the pink portion. These will act as your watermelon seeds, adding a delightful detail and a tiny burst of chocolate flavor.
8.
Repeat and Cool: If you're making a full batch, repeat steps 5-7 with the remaining green, pink, and chocolate chip mixtures in a second greased 9-inch round cake pan. Allow both pans to cool completely at room temperature. This can take about 1-2 hours.
9.
Slice and Serve: Once fully cooled and set, carefully invert the treats onto a cutting board. Cut each round into 12 wedges, just like you would a real watermelon.
Elevate Your Watermelon Rice Krispies Treats: Tips, Tricks, and Variations
While the basic recipe for these
adorable watermelon rice krispies is straightforward, a few expert tips and creative variations can truly take your summer treats to the next level.
Pro Tips for Perfection:
*
Fresh Marshmallows are Key: Always use fresh miniature marshmallows. Older, stale marshmallows don't melt as smoothly and can result in a tougher, less desirable texture.
*
Don't Overcook: When melting the marshmallows, use low heat and remove from the heat as soon as they are smooth. Overcooking them can lead to hard, brittle treats.
*
Grease Everything: A light coating of cooking spray or oil on your spatula, hands (if pressing by hand), and measuring cups for the cereal will prevent sticking and make the process much smoother.
*
Work Quickly (But Carefully): The marshmallow mixture can become sticky and difficult to work with as it cools. Be efficient when mixing in cereal and assembling, but don't rush so much that you make a mess or compromise the layers.
*
Even Pressure: When pressing the mixtures into the pan, apply even, firm pressure. This ensures that the treats hold together well and have a consistent texture throughout. A greased piece of waxed paper or parchment paper can help you press firmly without direct contact.
*
Experiment with Colors: Achieving the perfect pink or red for the "flesh" can involve a bit of experimentation. Start with the suggested amounts and add tiny drops more gel coloring if you desire a deeper hue. Remember, a little gel coloring goes a long way!
Fun Variations and Serving Ideas:
*
Watermelon Rice Krispies Pops: For an even more kid-friendly and party-ready option, transform your wedges into pops! Once the treats have set enough to handle but before they are completely firm, carefully insert popsicle sticks into the wider end of each wedge. Let them cool completely for easy handheld fun.
*
Different Shapes: While wedges are classic, you can get creative with cookie cutters! After the treats are fully set, you could cut out smaller watermelon slices, or even star or heart shapes from the pink center if you’re looking for something truly unique. Just be aware that this will create more scraps.
*
Add Zest or Flavor Boosts: Consider adding a tiny bit of lime zest to your green "rind" mixture for a hint of citrusy freshness. For the pink "flesh," a few drops of raspberry or strawberry extract alongside the watermelon extract can deepen the fruity notes.
*
Chocolate Chip Alternatives: While mini semisweet chocolate chips are perfect for "seeds," you could also use tiny black sprinkles for an even more realistic look. Alternatively, if you're feeling extra festive, use red or green sprinkles on top of the pink layer for added sparkle.
*
Mini Watermelons: Instead of a large round pan, use a muffin tin to create individual mini watermelon treats. Press green mixture around the edges of each muffin cup, then fill the center with pink, and top with chocolate chips. This is perfect for portion control and less cutting!
*
Storage: Store your cooled
watermelon rice krispies treats in an airtight container at room temperature for up to 3-4 days. They are best enjoyed fresh, but their chewy texture holds up well.
These little innovations can make your watermelon rice krispies treats truly unforgettable, whether you’re serving them at a casual family BBQ or a grand summer celebration.
Conclusion: Slice into Summer Fun!
There you have it – a comprehensive guide to creating the most charming and delicious
watermelon rice krispies treats that are bound to be the star of any summer gathering. This easy, no-bake recipe combines the beloved chewy texture of classic Rice Krispies treats with a burst of vibrant color and a playful watermelon design, making it a perfect choice for hot weather. Whether you’re a seasoned baker or just looking for a simple, fun activity with the kids, these treats offer a delightful experience from start to finish. So go ahead, embrace the spirit of summer fun, and whip up a batch of these adorable, irresistible treats. Your taste buds, and your guests, will thank you!